whilst sitting on the living room floor this morning making a start on our christmas crackers, you can read how to make those here, my mind wandered off to cutlery and napkins. i was mumbling to myself, when Mr HPMcQ asked what i was babbling on about. “well, i was thinking that maybe instead of napkin rings i could make some little jackets to keep the cutlery and napkin together” he laughed and gave me a squeeze “i love you”
so whilst he popped out to sainsburys, i made some jackets.
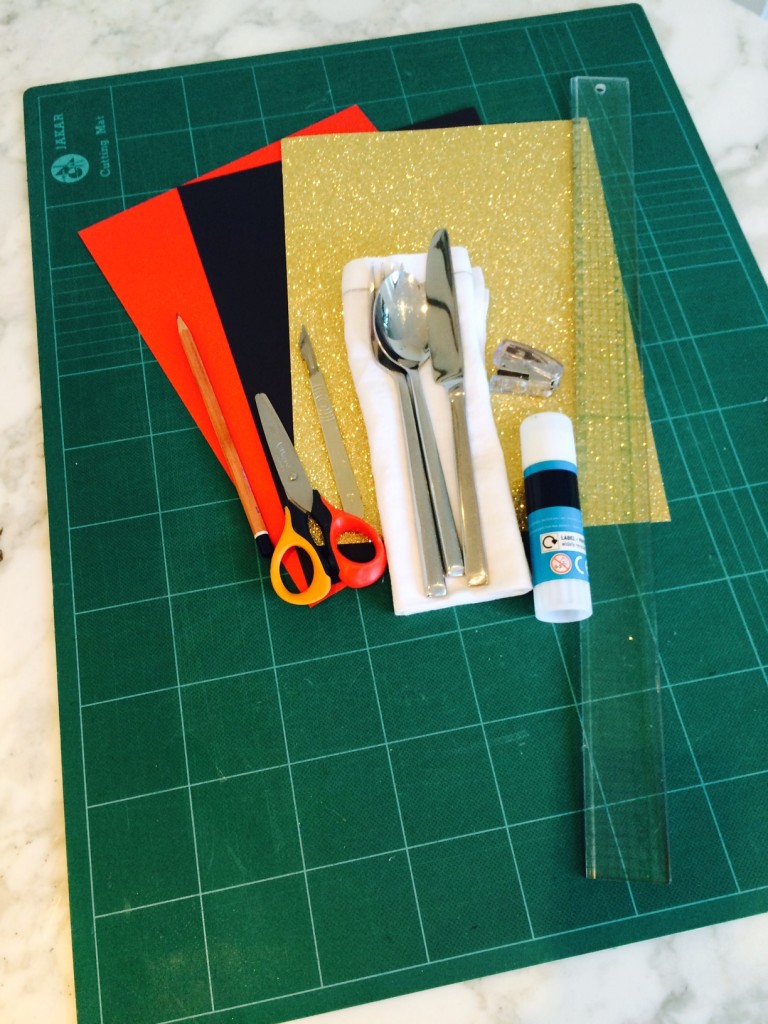
this is what you will need :
– red, black & gold glitter card
– pencil
– scissors or scalpel and cutting board or a cricut like us!
– ruler
– sticky tape
– glue stick
– mini stapler
– cutlery & napkin
what you need to do :
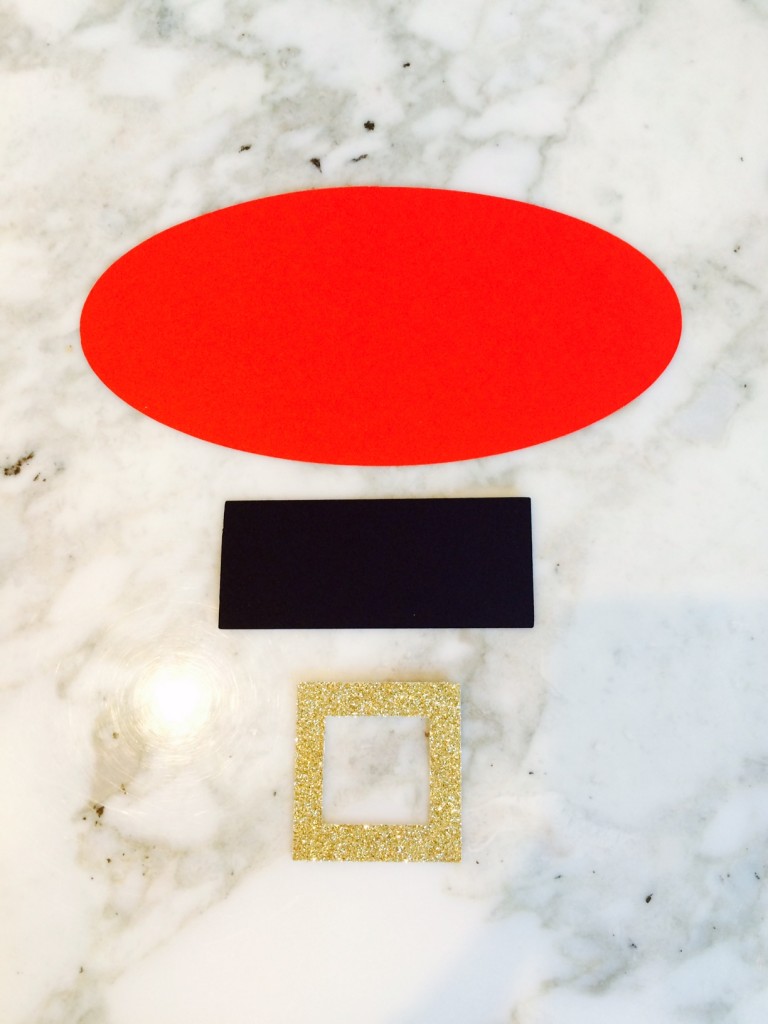
take your red card and cut out an oval shape. ours was 19cm wide and 9.5cm in height. i trialled a few sizes in just plain paper first until i got to this size to suit our cutlery and napkin. yours may well be different so do try for size first. we cut ours out using our cricut, but of course you can either use scissors or a scalpel and straight edge on a cutting board.
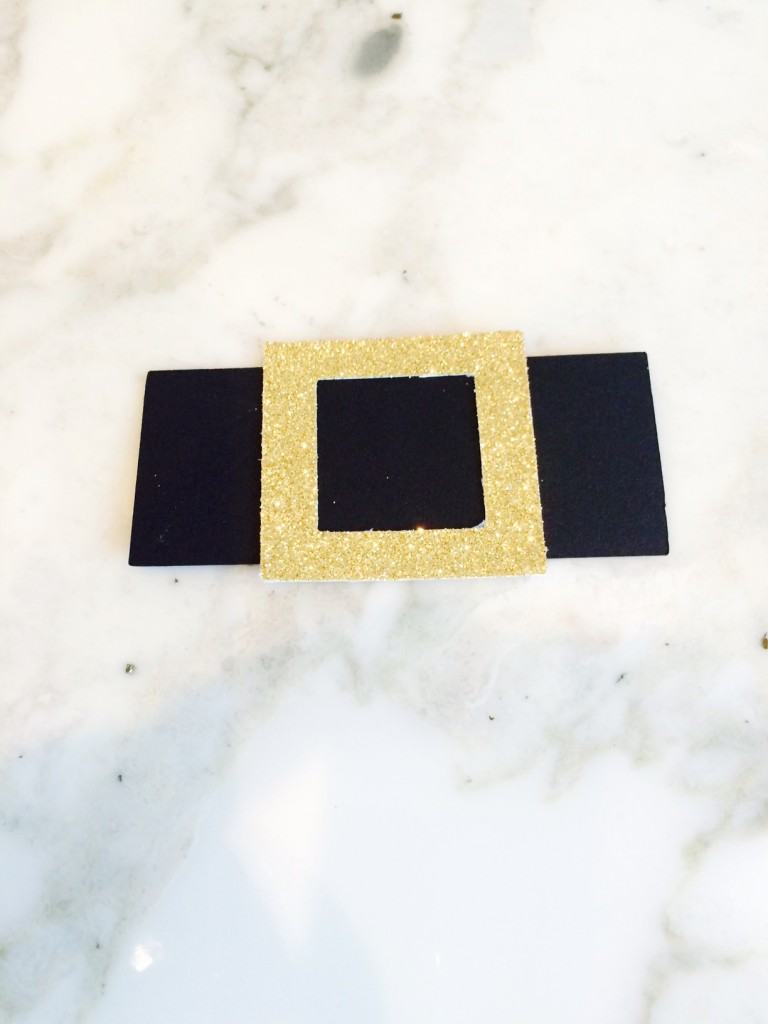
then i cut a rectangle measuring 9.5cm wide and 4cm in height out of the black card.
followed by a gold glitter square measuring 5cm with a smaller 3cm square, cut out of the centre.
that’s all the pieces you need. now you just need to put them together.
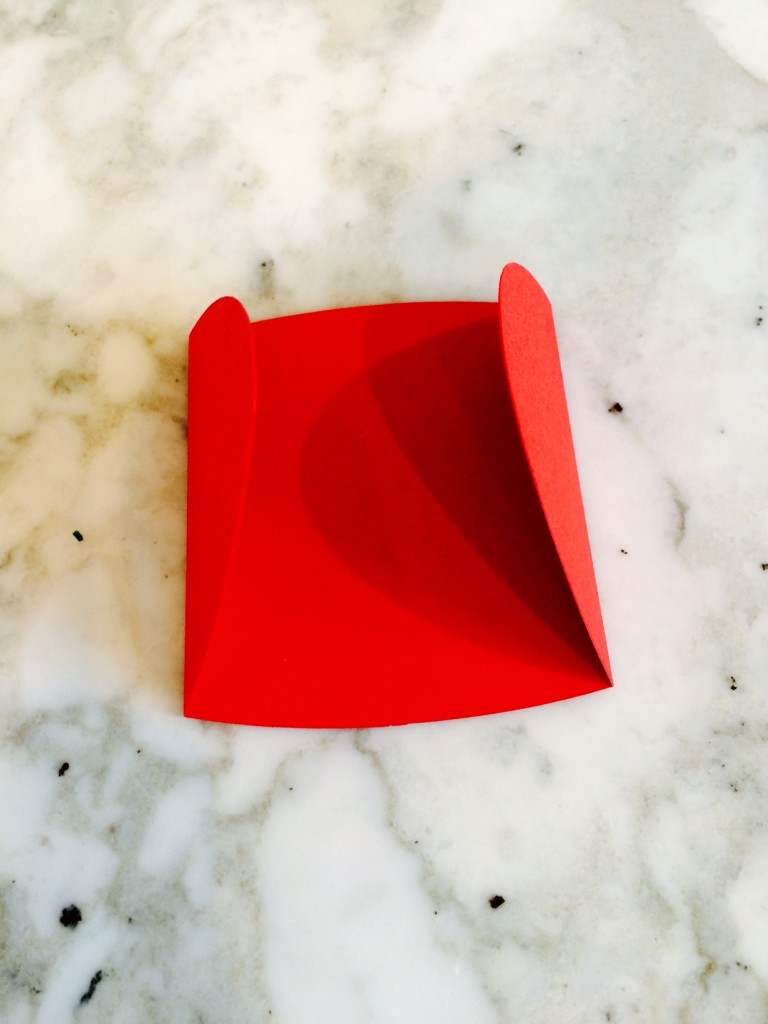
take the red oval, mark the centre and measure 4cm out each side and score with the back of your scalpel. this leaves you the back section of the coat. gentle fold along these score lines.
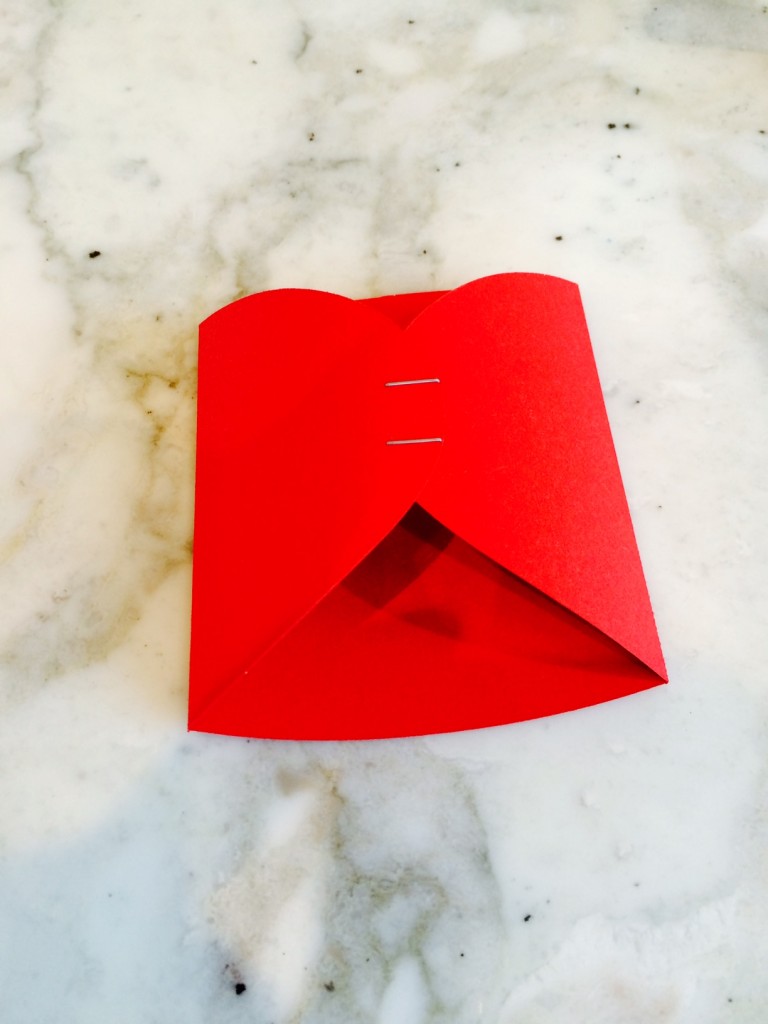
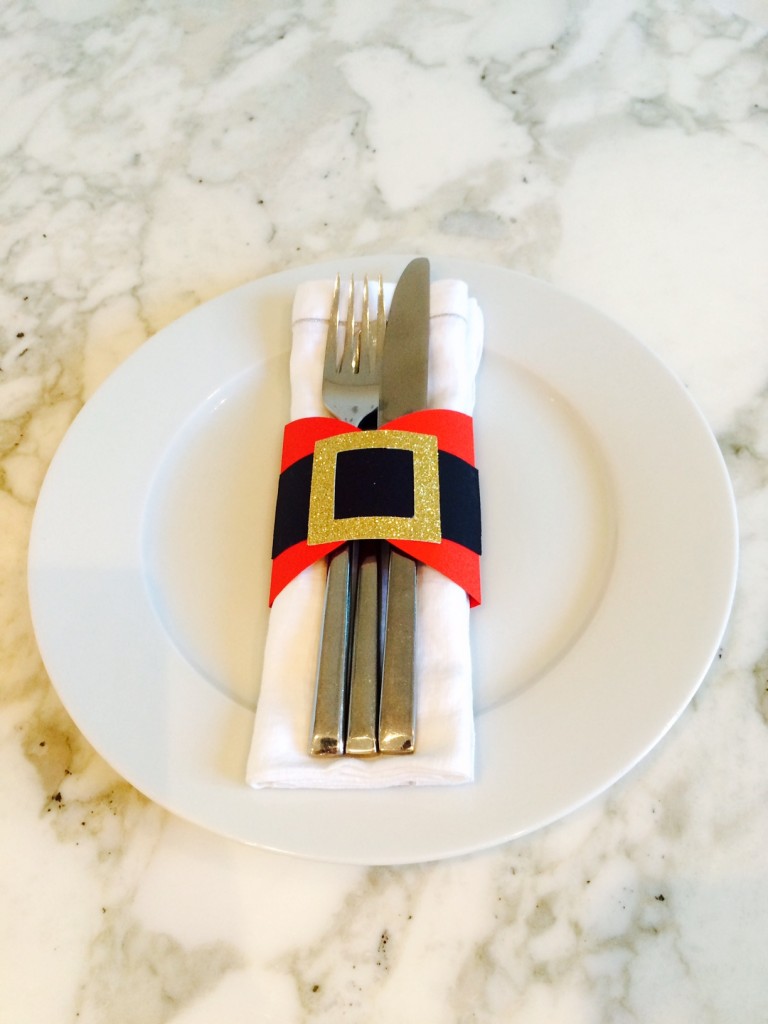
bring them together with the curve of the outer oval overlapping only about 1cm. staple at the top and bottom to secure. this leaves a nice gap for your cutlery and napkin to slide into.
take the gold glitter cut out square and cover the back in glue, and stick down onto the black rectangle right bang in the middle, to make the belt and buckle.
turn the belt over and cover the back in glue and stick onto the front of the red jacket. and you are done! happy christmas x

Those are so cute, I love them. Really simple idea and so effective for the dinner table.
and everything is in order too!
A fun way to brighten up the dinner table, they look simply make too that even I could do it
easy peasy, put them on your list for next year. could do in green also for elves 🙂